1. Introduktion
Tack för köpetasing the IRRADIO VDP-4600HDW LCD/LED Projector. This manual provides essential information for the safe and efficient operation of your device. Please read it thoroughly before use and retain it for future reference.
2. Säkerhetsinstruktioner
- Blockera inte ventilationsöppningarna. Se till att det finns tillräckligt med luftflöde runt projektorn för att förhindra överhettning.
- Titta inte direkt in i projektorlinsen när lamp är på, eftersom det starka ljuset kan orsaka ögonskador.
- Håll projektorn borta från vatten eller andra vätskor. Använd inte i damp eller våta förhållanden.
- Använd endast den nätadapter som medföljer projektorn.
- Försök inte reparera projektorn själv. Överlåt all service till kvalificerad personal.
- Placera projektorn på en stabil, jämn yta för att förhindra att den faller.
3. Paketets innehåll
Kontrollera att alla artiklar finns i ditt paket:
- IRRADIO VDP-4600HDW Projector
- Fjärrkontroll
- Strömkabel
- HDMI-kabel
- AV-kabel
- Användarmanual
4. Produkt överview
4.1. Projektorns komponenter

Bild 4.1: Total view of the IRRADIO VDP-4600HDW Projector. This image displays the projector from an angled perspective, highlighting its compact design and the lens on the front left side, with ventilation grilles and control buttons visible on the top and sides.

Bild 4.2: Främre view of the projector. This image focuses on the large projection lens on the left, with the IRRADIO logo and ventilation grilles on the right side of the front panel.

Bild 4.3: Bak view of the projector. This image shows the VGA port, focus adjustment knob, and keystone correction knob on the rear panel, along with additional ventilation.
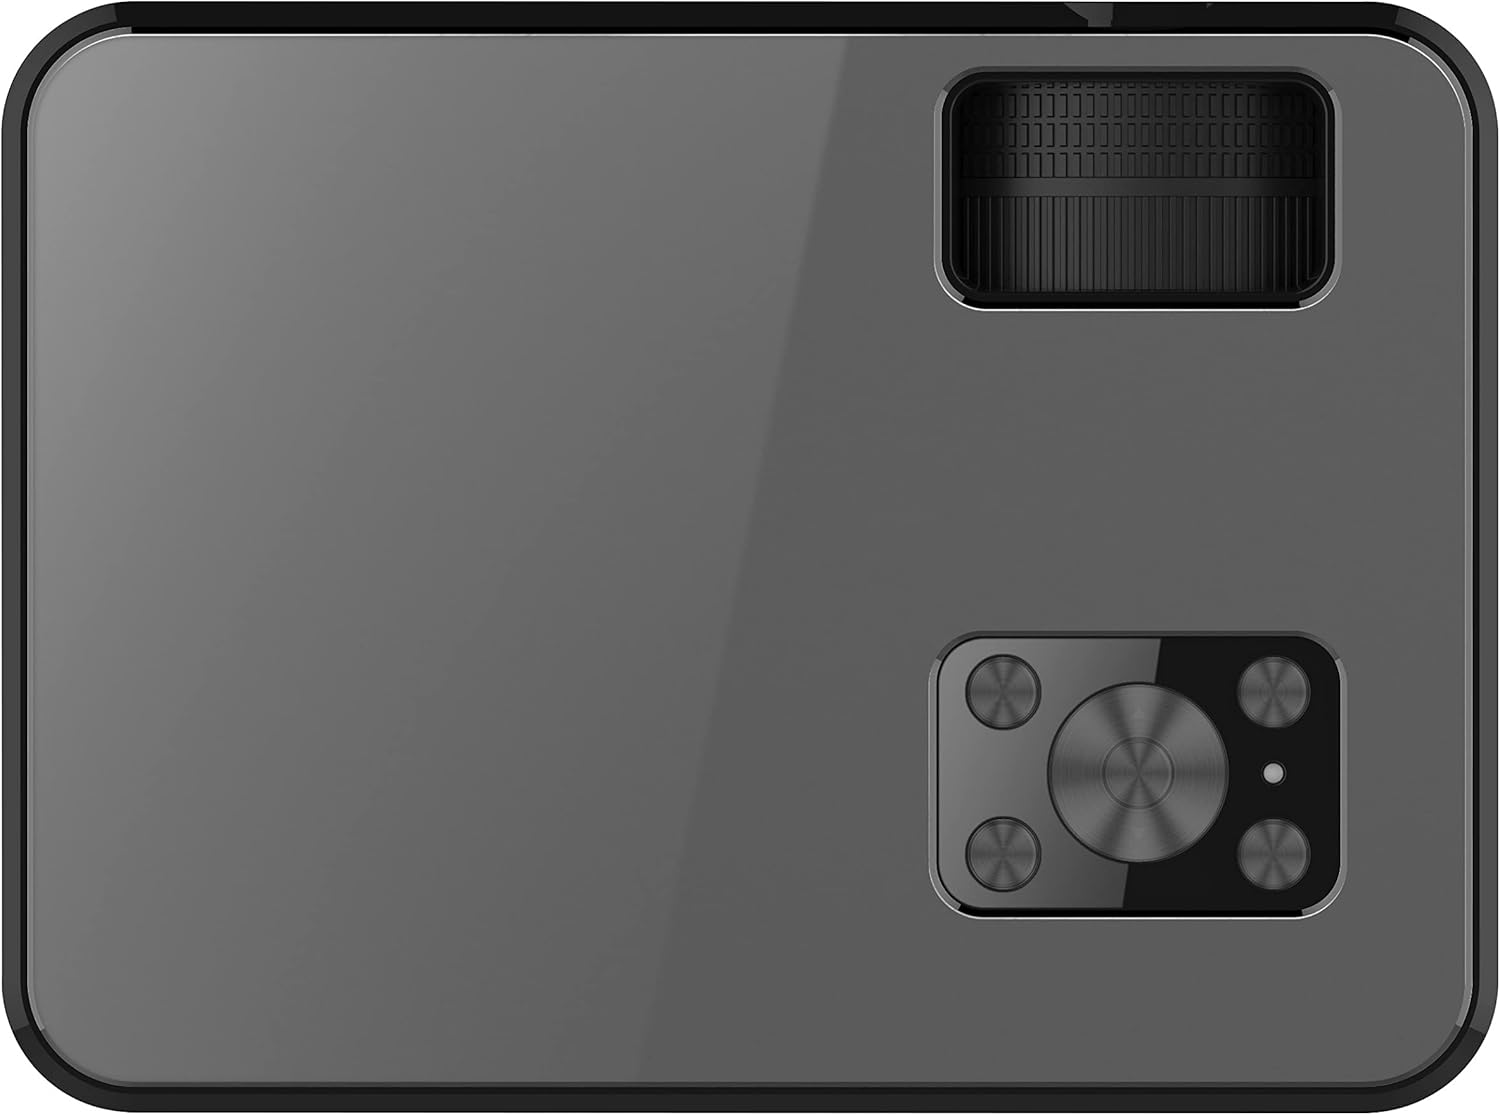
Bild 4.4: Bästa view of the projector. This image displays the control panel with navigation buttons (up, down, left, right, OK), source, menu, and exit buttons, along with the power button and volume controls.

Bild 4.5: Sida view of the projector showing input/output ports. This image highlights two HDMI ports, AV input, two USB ports, and a 3.5mm headphone jack (audio out).

Bild 4.6: Motsatt sida view of the projector. This image shows the power input port and additional ventilation grilles.

Bild 4.7: Botten view of the projector. This image displays the mounting points for ceiling installation and rubber feet for stable placement on a flat surface.
4.2. Fjärrkontroll
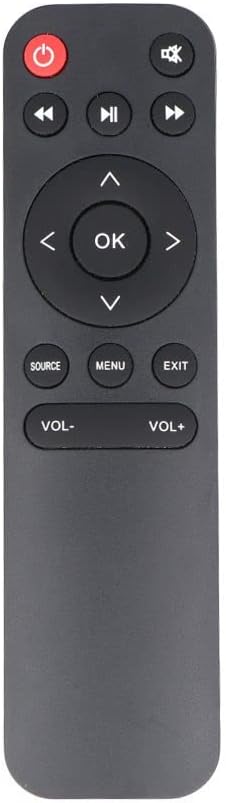
Bild 4.8: The remote control for the IRRADIO VDP-4600HDW Projector. It features buttons for power, mute, navigation (up, down, left, right, OK), source selection, menu, exit, and volume control.
4.3. Ports and Controls Overview
- Strömknapp: Slår på/stänger av projektorn.
- Lins: Projicerar bilden.
- Fokusring: Justerar bildens skärpa.
- Keystone-korrigering: Justerar bildförvrängning.
- HDMI-portar (x2): Connect to HDMI-enabled devices (laptops, gaming consoles, Blu-ray players).
- USB-portar (x2): Anslut USB-enheter för medieuppspelning.
- VGA-port: Anslut till datorer med VGA-utgång.
- AV-port: Connect to older devices using composite video.
- 3.5 mm ljudutgång: Anslut externa högtalare eller hörlurar.
- IR-mottagare: För fjärrkontrollsignaler.
5. Inställning
5.1. Placering
Place the projector on a stable, flat surface or mount it to the ceiling. Ensure the projector is positioned directly in front of the projection screen or wall. The optimal projection distance ranges from 1.52 meters to 3.48 meters, yielding a screen size between 50 and 120 inches.
- Frontprojektion: Place the projector in front of the screen.
- Bakprojektion: Placera projektorn bakom en genomskinlig skärm.
- Takmontering: The projector can be inverted and mounted to the ceiling. Adjust settings in the OSD menu for inverted projection.
5.2. Strömanslutning
- Anslut strömkabeln till projektorns strömingång.
- Plug the other end of the power cable into a standard electrical outlet (220V AC, 50Hz).
- Tryck på strömknappen på projektorn eller fjärrkontrollen för att slå på den.
5.3. Fokus- och keystonejustering
- Slå på projektorn och visa en bild.
- Vrid på Fokusring (located near the lens) until the image appears sharp and clear.
- Justera Keystone Correction knob (located on the rear panel) to correct any trapezoidal distortion, making the image rectangular.
6. Drift
6.1. Ström på/av
Tryck på strömknappen på projektorn eller fjärrkontrollen för att slå på eller av enheten.
6.2. Val av ingångskälla
Efter att du har slagit på strömmen, tryck på KÄLLA button on the remote control or the projector's control panel to cycle through available input sources (HDMI1, HDMI2, USB1, USB2, VGA, AV).
6.3. Ansluta externa enheter
- HDMI: Connect an HDMI cable from your device (e.g., laptop, game console) to one of the projector's HDMI ports. Select the corresponding HDMI input.
- VGA: Connect a VGA cable from your computer to the projector's VGA port. Select the VGA input.
- AV: Use the provided AV cable to connect to devices with composite video output. Select the AV input.
- USB: Insert a USB flash drive into a USB port. The projector's media player interface will appear automatically or can be accessed via the source menu.
6.4. Mediauppspelning (USB)
The integrated media player supports various formats:
- Bildformat: JPEG, BMP, PNG, MPO
- Videoformat: MPEG1, MPEG2, H.263, H.264, AVS, MJPEG, RV30, RV40, HEVC
- Ljudformat: MPEG1, MPEG2, LPCM, MP3
Navigera igenom files using the remote control's arrow keys and press OK att välja.
6.5. Wireless Audio Connection
The projector features an integrated wireless audio function for connecting to external audio devices. Refer to the on-screen display (OSD) menu for specific pairing instructions. Typically, you will need to enable the wireless audio feature in the projector's settings and then pair it with your desired external speaker or headphone.
7. Underhåll
7.1. Rengöring av linser
Use a soft, lint-free cloth and a specialized lens cleaning solution to gently wipe the lens. Avoid abrasive materials or excessive pressure.
7.2. Rengöring av dammfilter
Regularly check and clean the dust filters to ensure optimal airflow and prevent overheating. Use a soft brush or a vacuum cleaner with a brush attachment to remove dust from the ventilation grilles.
7.3. Förvaring
When not in use for extended periods, store the projector in a cool, dry place, protected from dust and direct sunlight. Use the original packaging or a protective case.
8. Felsökning
- Ingen ström: Se till att strömkabeln är ordentligt ansluten och att eluttaget fungerar.
- Ingen bild: Check the input source selection. Ensure the connected device is powered on and sending a signal. Verify cable connections.
- Suddig bild: Adjust the focus ring. Ensure the projection distance is within the optimal range.
- Image Distorted: Justera keystone-korrigeringen.
- Inget ljud: Check the volume settings on both the projector and the connected device. If using external speakers, ensure they are properly connected or paired via wireless audio.
- Fjärrkontrollen fungerar inte: Byt batterier. Se till att det inte finns några hinder mellan fjärrkontrollen och projektorns IR-mottagare.
9. Specifikationer
| Särdrag | Specifikation |
|---|---|
| Projektionssystem | LCD panel with LED light source |
| Inbyggd upplösning | 1920x1080 (Full HD 1080p) |
| Dynamiskt kontrastförhållande | 2000:1 |
| Light Source Brightness | 3000 XNUMX lumen |
| LED Lamp Liv | 50,000 XNUMX timmar |
| Lins | Manuell fokusering |
| Trådlös ljudfunktion | Integrerad |
| Anslutningsmöjligheter | 2x HDMI, 2x USB, VGA, AV Composite, 3.5mm Headphone Jack (output) |
| Bildförhållande | 16:9 Native / 4:3 Compatible |
| Optimal projektionsstorlek | 50" - 120" |
| Optimalt projektionsavstånd | 1.52 m till 3.48 m |
| Projektionslägen | Front, Rear, Ceiling (Front/Rear) |
| Audio | 1x 3W Hi-Fi Speaker |
| Kylsystem | Dubbelt kylsystem |
| OSD-språk | 23 språk |
| Strömförsörjning | 220V AC 50Hz (single phase) |
| Vikt | 1.4 kg |
| Mått (B x H x D) | 222 x 91 x 173 mm |
10. Garanti och support
Information regarding specific warranty terms and support contacts is not available in the provided product data. Please refer to the product packaging or the retailer's webwebbplats för garantiinformation och kundsupportinformation.